


PXF Format Conversion for Embroidery: Easy Guide
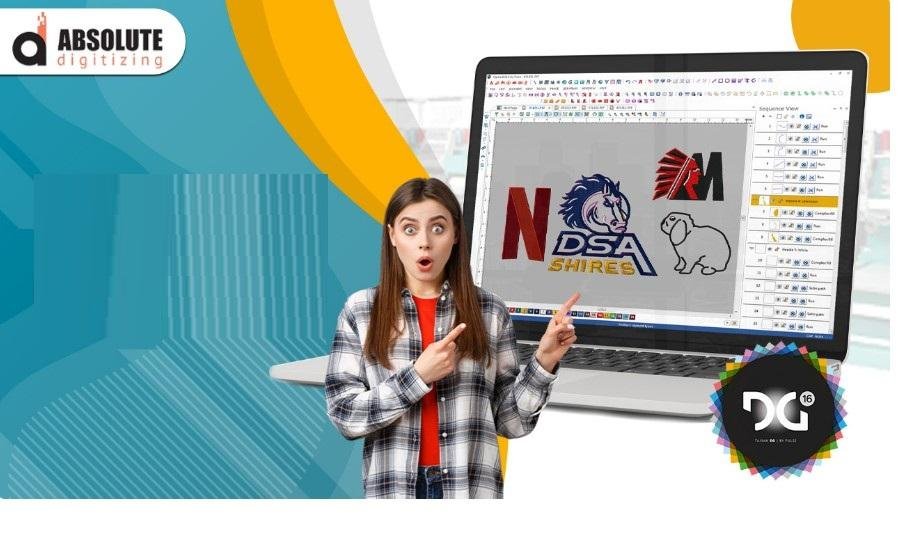
PXF Format Conversion for Embroidery: A Complete Guide
Getting an embroidery design ready for the right machine can sometimes feel like translating between two different languages. You may have a perfectly prepared PXF file, but your embroidery machine may require another format before it can stitch the design.
That is where PXF format conversion for embroidery becomes useful. Converting a PXF design into a suitable machine embroidery format can help you move a project from editing software to the embroidery machine without rebuilding the artwork from scratch.
In this guide, we will explain what a PXF file is, why conversion may be necessary, which formats are commonly used, and how to avoid problems during the conversion process.
What Is a PXF Embroidery File?
PXF is an embroidery design file format associated with certain professional embroidery software workflows. Unlike a simple image file such as JPG or PNG, an embroidery file contains stitch-related information.
Depending on the software and workflow, a PXF file may preserve important design information that can be useful during editing.
This can include elements such as:
-
Stitch objects
-
Thread colors
-
Stitch settings
-
Design structure
-
Object sequencing
-
Editing information
Because of this, a PXF file should not be treated like an ordinary picture file.
What Is PXF Format Conversion for Embroidery?
PXF format conversion for embroidery means changing a PXF design into another embroidery file format that is better suited to a particular machine, software program, or production workflow.
For example, a PXF design may need to be converted into a machine-readable format such as:
-
DST
-
PES
-
EXP
-
JEF
-
VP3
-
HUS
The correct output depends on the embroidery machine and the software being used.
Why Does Conversion Matter?
Different embroidery machines and software programs support different file formats. A design that opens perfectly in one program may not be directly usable by another machine.
Converting the file helps bridge that gap.
Think of the PXF file as a detailed design blueprint. The final machine format is more like the set of stitching instructions the embroidery machine needs to follow.
When Should You Convert a PXF File?
PXF conversion may be useful in several situations.
1. Your Machine Does Not Support PXF
The most common reason is simple: the embroidery machine may not recognize PXF files.
If your machine requires DST, PES, JEF, or another format, you will need an appropriate conversion workflow.
2. You Are Moving a Design Between Software Programs
Different embroidery applications have different file compatibility options. Converting a design may make it easier to transfer the project into another supported workflow.
3. You Are Preparing a Design for Production
If a design was created or edited in a native working format, it may eventually need to be exported as a production-ready machine file.
This is especially common when preparing logos, uniforms, patches, caps, and other embroidery projects.
4. You Need a Specific Machine Format
A customer may request a particular file type based on their embroidery machine. In that situation, the PXF design may need to be exported or converted into the required format.
PXF vs. Machine Embroidery Formats
It is important to understand that not all embroidery file formats serve exactly the same purpose.
A working file can preserve more editable information, while a machine file may focus primarily on the instructions required for stitching.
For example, a production file can contain information about:
-
Stitch placement
-
Stitch sequence
-
Needle changes
-
Thread colors
-
Stitch commands
-
Machine movements
The amount of editable information retained during conversion depends on the software and the target format.
Common Formats Used After PXF Conversion
DST
DST is widely used in commercial embroidery workflows and is commonly associated with industrial embroidery machines.
It is often selected when broad machine compatibility is important.
PES
PES is commonly used with Brother-family embroidery workflows. If a machine specifically requires PES, the PXF design may need to be exported or converted accordingly.
JEF
JEF is associated with Janome embroidery systems. A design intended for a compatible Janome machine may require JEF output.
EXP
EXP is another embroidery format used in various machine and software workflows. Compatibility should always be checked before conversion.
VP3
VP3 is another embroidery format used by certain embroidery systems. It can be appropriate when the target machine or software specifically supports it.
How to Convert PXF to an Embroidery Machine Format
The exact process depends on the software you are using and the target format. However, the general workflow is straightforward.
Step 1: Open the PXF Design
Load the PXF file into compatible embroidery software.
Before converting, inspect the design carefully. Check the artwork, stitch objects, colors, and overall layout.
Step 2: Review the Design
Do not immediately export the file.
Take a moment to verify:
-
Design dimensions
-
Stitch density
-
Stitch direction
-
Underlay
-
Thread colors
-
Object sequence
-
Small details
This step can prevent problems later.
Step 3: Select the Target Format
Choose the format required by your embroidery machine.
For example, you might need DST for one machine and PES for another.
Always confirm the machine's specifications instead of choosing a format based only on its popularity.
Step 4: Set the Export Options
Depending on the software, you may be able to adjust settings related to thread colors, hoop size, trims, and other machine-specific information.
Use settings appropriate for the target machine.
Step 5: Export or Save the File
Save the converted design in the required embroidery format.
It is a good idea to keep the original PXF file separately. That way, you still have an editable working file if changes are needed later.
Step 6: Test the Design
Before running a large production order, perform a test sew-out.
Check whether:
-
The design is the correct size.
-
Colors appear as expected.
-
Stitches are registering correctly.
-
There are unnecessary jumps.
-
Small details remain clear.
-
The fabric is not puckering.
-
Thread breaks are not excessive.
A successful conversion is not only about whether the file opens. The design should also stitch correctly.
Can You Convert PXF Directly to Any Format?
Not necessarily.
File conversion depends on the software, the original design structure, and the target format. Some conversions may preserve editable objects better than others.
A PXF file may contain information that does not translate perfectly into a different embroidery format.
For this reason, simply changing the file extension is not a real conversion.
For example, renaming:
design.pxf → design.dst
does not actually transform the embroidery instructions.
The file must be properly exported or converted using compatible embroidery software.
Common Problems During PXF Conversion
Conversion can sometimes introduce issues, especially when the original design was not prepared correctly.
Lost Editing Information
Some machine formats do not retain the same level of object-based editing information found in a working file.
Once exported, you may have fewer options for making detailed changes.
Incorrect Thread Colors
Thread color information can sometimes map differently between software programs.
Always review the color sequence before production.
Changed Stitch Density
Depending on the conversion workflow, certain settings may not transfer exactly as expected.
This can affect coverage, texture, and fabric stability.
Missing Details
Very small objects or specialized stitch effects may not translate perfectly into another format.
A visual inspection and test sew-out can reveal these issues.
Incorrect Size or Hoop Settings
A design may need to be adjusted for the target hoop or machine.
Always verify the final dimensions before stitching.
How to Get Better Results From PXF Conversion
A little preparation can make the entire conversion process smoother.
Keep Your Original PXF File
Always preserve the original working file. It can serve as your master copy for future editing.
Know Your Machine Requirements
Before converting, determine the exact file format, hoop size, and other requirements of the target machine.
Check the Stitch Count
An unexpectedly high stitch count may indicate that the design needs optimization before production.
Inspect Small Text
Small lettering is particularly sensitive to stitch density and design size. Make sure it remains readable after conversion.
Run a Test Sew-Out
A test stitch-out is one of the best quality-control steps you can take.
A design that looks perfect on a computer screen may behave differently on fabric.
PXF Conversion for Logos and Custom Embroidery
Business logos often contain fine details, small lettering, gradients, and complex shapes. These elements require careful handling during embroidery preparation.
When converting a PXF logo design, focus on the actual stitching result rather than only the digital preview.
A professional embroidery file should account for:
-
Fabric type
-
Design size
-
Stitch density
-
Underlay
-
Pull compensation
-
Stitch direction
-
Thread sequence
-
Machine limitations
At Absolute Digitizing, careful file preparation helps ensure that converted embroidery designs are practical for real-world stitching rather than simply being technically converted.
PXF Conversion vs. Redigitizing
Conversion and redigitizing are not the same thing.
Conversion changes an existing embroidery design from one file format to another.
Redigitizing involves rebuilding or modifying the embroidery instructions to improve how the design stitches.
For example, if a converted design has poor density, awkward stitch directions, or unsuitable details, simply converting it again may not solve the problem.
In such cases, the design may need professional editing or redigitizing.
Best Practices for Embroidery File Conversion
Before sending a converted file to production, use this quick checklist:
-
Confirm the required machine format.
-
Open and inspect the original PXF design.
-
Check dimensions and hoop compatibility.
-
Review stitch density and underlay.
-
Verify thread colors and sequence.
-
Export using the correct machine format.
-
Open the converted file and inspect it again.
-
Run a test sew-out.
-
Make corrections if necessary.
-
Keep the original PXF master file safely stored.
This simple workflow can save time, thread, fabric, and production costs.
Final Thoughts
PXF format conversion for embroidery is useful when an existing design needs to move into a machine-compatible format. However, successful conversion involves more than changing a file extension.
The right workflow starts with understanding the target machine, checking the original design, choosing the correct output format, reviewing the converted file, and testing it on fabric.
Whether you are preparing a logo, patch, uniform design, or custom embroidery project, always keep the original PXF file and inspect the final machine file before production.
With careful preparation and proper digitizing practices, file conversion can become a simple part of your embroidery workflow.
FAQs
1. What is PXF used for in embroidery?
PXF is used as an embroidery design file in certain professional software workflows. It can retain design information useful for editing and further preparation.
2. Can a PXF file be converted to DST?
Yes, a PXF design may be exported or converted to DST when compatible software supports the workflow. The final file should be checked and test-stitched before production.
3. Is changing .PXF to .DST enough?
No. Simply changing the file extension does not convert the underlying embroidery data. A proper export or conversion process is required.
4. Which embroidery format should I convert PXF to?
The correct format depends on your embroidery machine and software. Common formats include DST, PES, JEF, EXP, and VP3.
5. Should I keep the original PXF file after conversion?
Yes. Keeping the original PXF file is strongly recommended because it can provide a more editable master version for future changes or additional conversions.

 English
 Arabic
 French
 Spanish
 Portuguese
 Deutsch
 Turkish
 Dutch
Dutch
 Italiano
 Romaian
 Portuguese (Brazil)
 Greek
Greek