


Main Machine Embroidery Stitch Types Explained
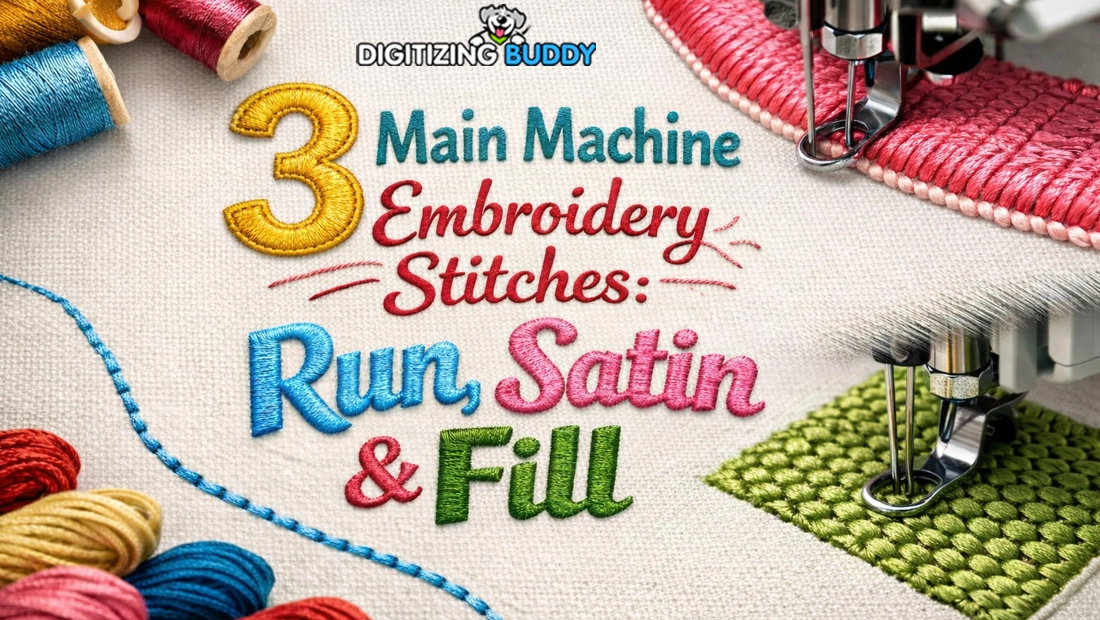
Main Machine Embroidery Stitch Types: A Complete Guide
A beautiful embroidery design is more than colors and thread. The way stitches are planned can change the texture, strength, detail, and overall appearance of the finished work. If you are new to machine embroidery, understanding the main machine embroidery stitch types is one of the best places to start.
Different stitches have different jobs. A running stitch can create fine outlines, while a satin stitch can make lettering look smooth and bold. Fill stitches, on the other hand, are useful for covering larger areas with thread.
In this guide, we will explore the most common embroidery stitch types, explain where they work best, and share practical tips for creating cleaner machine embroidery designs.
What Are Machine Embroidery Stitch Types?
Machine embroidery stitch types are the different ways an embroidery machine places thread into fabric to create a design. Each stitch has its own structure, direction, density, and purpose.
A digitized design usually combines several stitch types rather than relying on just one. For example, a small logo may use running stitches for details, satin stitches for lettering, and fill stitches for large shapes.
Choosing the right stitch helps control:
-
Design texture
-
Thread coverage
-
Fabric stability
-
Small details
-
Lettering quality
-
Stitch count
-
Overall appearance
Good embroidery digitizing is largely about knowing which stitch should be used for each part of a design.
1. Running Stitch
The running stitch is one of the simplest and most useful embroidery stitches. It creates a thin line by placing individual stitches along a path.
It is commonly used for outlines, fine details, small lettering, and delicate design elements.
Best Uses for Running Stitches
Running stitches work especially well for:
-
Fine outlines
-
Sketch-style embroidery
-
Small details
-
Facial features
-
Thin borders
-
Decorative lines
Because this stitch uses relatively little thread, it can help keep stitch counts lower.
However, very long running stitches can become loose or may not hold properly on some fabrics. Proper stitch length is important for a clean result.
2. Satin Stitch
Satin stitch is one of the most recognizable machine embroidery stitches. It consists of closely packed stitches that run from one side of a shape to the other.
When properly digitized, satin stitches create a smooth, slightly raised surface with a polished appearance.
Where Is Satin Stitch Used?
Satin stitches are often used for:
-
Embroidery lettering
-
Borders
-
Narrow shapes
-
Logo details
-
Monograms
-
Small decorative elements
Satin stitch is particularly popular for embroidered text because it can give letters a clean and professional finish.
A Common Satin Stitch Mistake
Making a satin column too wide can cause problems. Extremely wide satin stitches may become loose, uneven, or difficult for the machine to sew properly.
For wider areas, a fill stitch may be a better choice.
3. Fill Stitch
Fill stitches, sometimes called tatami or area fills, are designed to cover larger sections of a design.
Instead of creating one narrow line, the machine places rows of stitches across an entire shape.
Fill stitches are useful for:
-
Large logos
-
Background areas
-
Clothing designs
-
Animal shapes
-
Large letters
-
Decorative patterns
The direction and density of the fill can also affect the final appearance. Changing stitch angles can add visual interest and help prevent a design from looking flat.
4. Triple Running Stitch
A triple running stitch follows a path multiple times, creating a stronger and more noticeable line than a basic running stitch.
It is useful when an outline needs more definition or when a single running stitch would look too thin.
Common applications include:
-
Bold outlines
-
Decorative borders
-
Structural details
-
Sketch-style designs
-
Small design accents
It can also add a slightly textured appearance to certain embroidery designs.
5. Zigzag Stitch
Zigzag stitching moves from side to side along a defined path. In machine embroidery, it can be used for decorative effects, borders, and certain specialty applications.
The stitch can produce a wider visual line than a basic running stitch while creating a distinct texture.
Zigzag effects may be useful for:
-
Decorative edges
-
Borders
-
Creative textures
-
Appliqué work
-
Specialty embroidery effects
The exact result depends on stitch width, spacing, fabric type, and digitizing settings.
6. Underlay Stitches
Underlay is not normally considered a visible finishing stitch, but it plays an important role in machine embroidery digitizing.
It is placed underneath the main stitches to stabilize the fabric and prepare the surface for the top stitching.
Common underlay styles include:
-
Edge-run underlay
-
Center-run underlay
-
Zigzag underlay
-
Contour underlay
The correct underlay can improve stitch coverage and help reduce problems such as fabric distortion.
However, too much underlay can make embroidery bulky. The amount should match the fabric, design, and top-stitching method.
7. Column Stitch
A column stitch is created by stitching across a narrow column-shaped area. Satin stitching is commonly used for this type of shape.
Column-based embroidery is particularly useful for lettering, borders, and narrow design elements.
The width of the column matters. If it is too narrow, the stitching may not provide enough coverage. If it is too wide, the stitches may become unstable.
This is why careful digitizing is important when creating professional embroidery files.
8. Appliqué Stitching
Appliqué combines fabric pieces with embroidery to create larger shapes without filling the entire area with dense thread.
A typical appliqué design may include a placement stitch, a tack-down stitch, and a finishing border.
Appliqué can be useful for:
-
Large logos
-
Sportswear
-
Jackets
-
Team designs
-
Decorative patches
-
Large lettering
It can also reduce the amount of thread needed compared with completely filling a large area with embroidery.
9. Cross-Stitch
Cross-stitch creates small X-shaped stitches and is often used for decorative or traditional-looking embroidery designs.
Although it has a different appearance from standard machine embroidery fills, some embroidery machines and software can create cross-stitch designs.
It works well for:
-
Decorative motifs
-
Folk-inspired patterns
-
Small artwork
-
Names and initials
-
Craft projects
The final appearance depends heavily on the fabric and stitch scale.
How to Choose the Right Embroidery Stitch
Choosing a stitch should not be based only on appearance. Fabric type, design size, thread, machine capabilities, and the intended use all matter.
A simple approach is to ask what the design element needs to accomplish.
|
Design Element |
Recommended Stitch |
|
Fine outline |
Running stitch |
|
Bold narrow lettering |
Satin stitch |
|
Large shape |
Fill stitch |
|
Strong outline |
Triple running stitch |
|
Decorative border |
Satin or zigzag |
|
Fabric stabilization |
Underlay |
|
Large fabric area |
Appliqué |
|
Traditional decorative effect |
Cross-stitch |
Stitch Density Matters Too
Understanding embroidery stitch types is only part of the process. Stitch density is equally important.
Density refers to how closely stitches are placed together. If the density is too low, the fabric may show through. If it is too high, the design can become stiff and bulky.
A good embroidery file balances coverage with flexibility.
For example, a lightweight shirt may require different density and underlay settings than a heavy jacket or cap.
Stitch Direction Can Change the Look
Stitch direction is another important part of embroidery digitizing.
Imagine brushing hair in one direction. The surface looks different when the direction changes. Embroidery thread behaves in a similar way.
Changing stitch angles can:
-
Add dimension
-
Improve visual flow
-
Reduce fabric distortion
-
Make shapes easier to recognize
-
Create attractive texture
Professional digitizing often uses different stitch directions within the same design rather than filling everything at one angle.
How Stitch Types Work Together
Most embroidery designs use multiple stitch types together.
Consider a simple embroidered company logo. The designer might use:
-
Running stitches for tiny details.
-
Satin stitches for the company name.
-
Fill stitches for a large symbol.
-
Underlay stitches beneath important areas.
-
Additional borders to give certain elements definition.
This combination creates a balanced design that is easier for the embroidery machine to sew and more attractive when finished.
Tips for Better Machine Embroidery Results
Understanding the main machine embroidery stitch types is useful, but applying them correctly makes the bigger difference.
Keep Small Details Simple
Tiny artwork cannot always reproduce every detail from the original image. Simplifying very small elements can produce a cleaner embroidered result.
Avoid Excessive Density
More stitches do not automatically mean better embroidery. Excessive density can create stiffness, thread breaks, puckering, and unnecessary stitch counts.
Consider the Fabric
A stitch plan that works beautifully on denim may not perform the same way on lightweight cotton.
Always consider the fabric's thickness, stretch, stability, and surface.
Use Appropriate Underlay
Underlay helps support the top stitches, but it should be selected according to the design and material.
Test Before Production
A test sew-out is one of the easiest ways to catch problems before producing multiple garments.
Look for:
-
Uneven coverage
-
Puckering
-
Poor registration
-
Thread breaks
-
Gaps
-
Excessive density
-
Weak outlines
At Digitizing Buddy, thoughtful embroidery digitizing focuses on how the design will actually sew—not simply how it looks on a computer screen.
Common Embroidery Stitch Mistakes to Avoid
Even a good design can produce poor results when stitch settings are not properly planned.
Some common mistakes include:
-
Using satin stitches for areas that are too wide
-
Making fill stitches unnecessarily dense
-
Ignoring fabric type
-
Using excessive underlay
-
Creating overly long running stitches
-
Keeping every stitch direction the same
-
Failing to test the final embroidery file
The goal is not to use as many stitches as possible. The goal is to use the right stitches in the right places.
Why Stitch Selection Matters in Digitizing
Machine embroidery digitizing converts artwork into instructions that an embroidery machine can understand. The digitizer decides stitch type, direction, density, sequencing, and other settings.
That means stitch selection can influence both the visual quality and sewing performance of a design.
A carefully digitized design should have a logical stitch sequence, suitable density, clean edges, and appropriate underlay.
This is especially important for logos, uniforms, hats, patches, and other designs that may be produced repeatedly.
Final Thoughts
Learning the main machine embroidery stitch types gives you a strong foundation for understanding how embroidery designs are created. Running stitches are excellent for fine lines, satin stitches create smooth narrow shapes and lettering, while fill stitches cover larger areas.
Specialty techniques such as appliqué, cross-stitch, zigzag effects, and different underlay methods can add even more possibilities.
The key is balance. The best embroidery designs do not simply contain more stitches—they use the appropriate stitch type, density, direction, and sequence for the fabric and artwork.
Whether you are learning embroidery digitizing or preparing designs for production, understanding these basic stitch types will help you make smarter design decisions and achieve cleaner, more professional results.
FAQs
1. What are the main machine embroidery stitch types?
The main types include running stitch, satin stitch, fill stitch, triple running stitch, zigzag stitch, and specialty techniques such as appliqué and cross-stitch.
2. Which embroidery stitch is best for lettering?
Satin stitch is commonly used for bold, narrow lettering because it creates smooth and well-defined embroidered columns. Very small text may require specialized digitizing techniques.
3. What stitch is best for large embroidery areas?
Fill stitch is generally suitable for covering larger areas. Its density and direction should be adjusted according to the design and fabric.
4. Why is underlay important in machine embroidery?
Underlay supports the fabric and creates a stable foundation for the visible stitches. Proper underlay can improve coverage and reduce distortion.
5. Does stitch density affect embroidery quality?
Yes. Too little density can leave gaps and expose the fabric, while excessive density can cause stiffness, puckering, and thread-related problems. A balanced density usually produces better results.
 Spanish
 English
 Arabic
 French
 Portuguese
 Deutsch
 Turkish
 Dutch
Dutch
 Italiano
 Russian
 Romaian
 Portuguese (Brazil)
 Greek
Greek